A rocker patch on a motorcycle is not merely about the lettering or central image. The border sets the parameters for how the design will be surrounded, how legible it is against a vest or jacket, and how complete the patch looks upon completion. Merrowed borders patches are quite common when it comes to making rocker patches because of the raised and round edges provided by the dense stitching. It is important to consider the right border technique as it affects the patch in terms of clarity, quality and aesthetics.
When dealing with motorcycle organizations, it is important to keep in mind that borders are planned along with the design rather than considered as a last decorative touch. Shape of the rocker, lettering size, embroidery density, threads used, backing, and fabric will affect the border choice.
Why does the border matter so much on a motorcycle rocker patch?
Traditionally, a rocker patch would consist of lettering of a curved nature along with a centerpiece and a definite silhouette that forms its edge.
This aspect becomes crucial in leather and denim biker vests because the border will help the patch look defined enough. It is often the case that a poorly proportioned border could make even the best quality embroidered patch appear unfinished, whereas a good border size will give it structure.
A border may also help with durability of the patch since tight border stitches increase the longevity of the patch and prevent any tearing due to handling, washing, and frequent movement. Thus, choosing borders for a custom motorcycle patches depends on both its visual appeal and utility.
What is merrowed edge embroidery and how does it differ from a standard stitched border?
The process of merrowed edge embroidery entails using densely stitched-overlocked stitchery to surround the perimeter of the patch. As opposed to applying embroidery thread around the perimeter in an ordinary manner, the stitching becomes thick and raised into a round form.
While an embroidered border can work well for irregular shapes or elaborate graphics, the merrowed form works well on shapes like circles, ovals, rectangles, and rockers.
There is also the question of weight. Merrowing makes for a more robust border, and can thus make lettering and simple emblems stand out more. However, the width of the border must be adjusted appropriately, lest there is too much stitching for a small design.
Which merrowed technique works best for traditional curved rocker lettering?
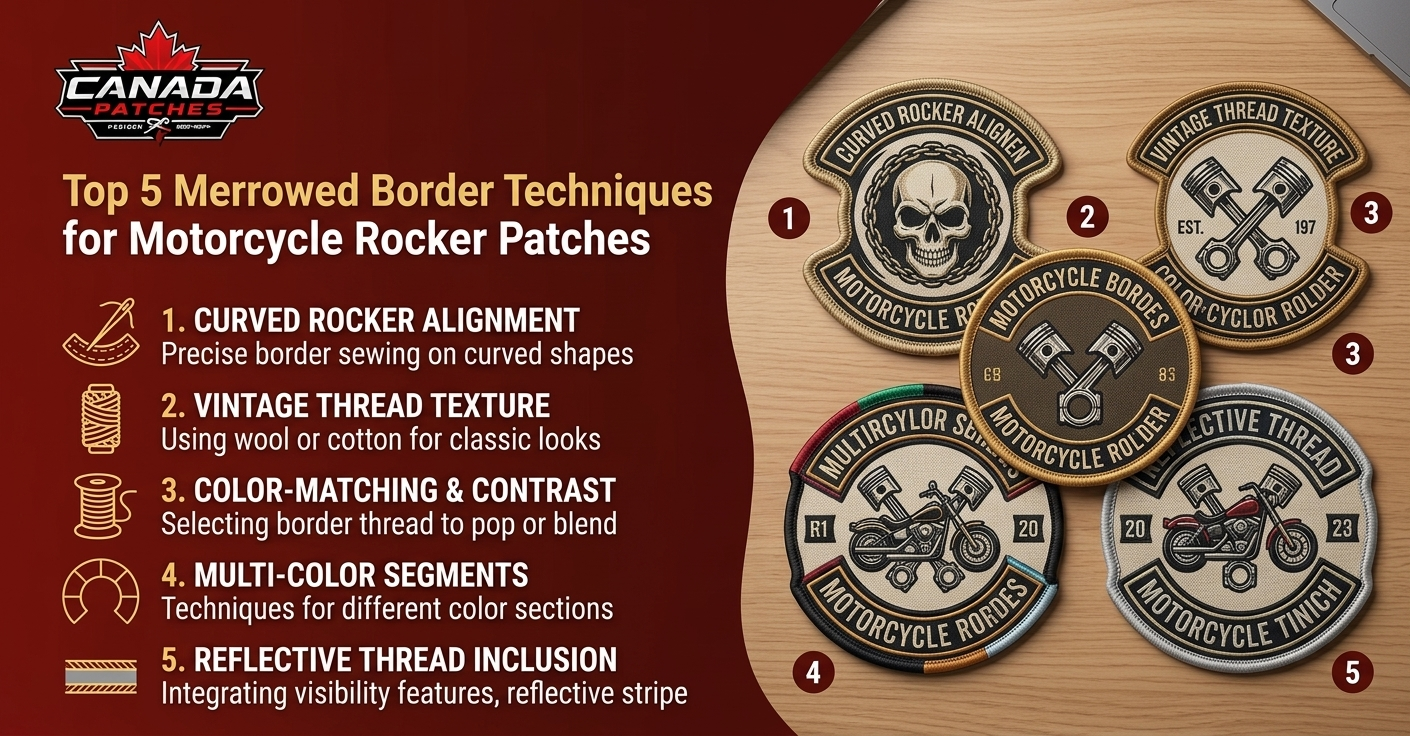
1. Traditional Raised Merrow Border
The merrow border in the raised stitch form provides a reliable option for the classic style of the rocker logo. Overlocking stitches run along the edge line creating a smooth outline separating the embroidery from the apparel.
Such a combination will be perfect in case of having:
Large letters in the upper and bottom rocker parts
Logo of the motorcycle in the center
Contrast color thread
Distinctive shape
Club-inspired art
When it comes to the biker club patches Canada, the mentioned border may give the effect of the traditional embroidered motorcycle logos.
However, the key factor is the proportionality because large borders tend to look too prominent with narrow lettering.
How can a double merrow border improve readability when a patch has several design elements?
2. Double Merrow Border
A double merrow border makes use of two different perimeter treatments to increase the visual separation. The design now features an additional frame between the actual patch and its border.
It may prove helpful in cases where the motorcycle club rocker patches has multiple levels of information, like the club name, chapter name, main logo and additional lettering.
The additional frame could prove useful in creating the organization within the design. However, the use of additional frames is appropriate only if the patch has sufficient physical space to do so.
If the additional framing would cause crowding of the information in the design, then additional bordering may prove inappropriate.
When should you use a contrasting merrow edge instead of a matching border?
3. High-Contrast Merrow Edge
In case of high-contrast merrows edges, then the border color differs from the patch background color. It is possible that light borders against dark background and vice versa will result in increased prominence of the silhouette.
It works well when the garment is dark or has an intricate design. The border will help in highlighting the edge of the patch.
The color chosen for the border should be similar to some other color used in the patch. It will make sure that the border does not look like it does not fit into the patch.
The shine and density of the threads must also be considered while selecting the color of the border. Shiny threads of the same color will look more prominent than dull threads of the same color.
What technique gives a rocker patch a stronger traditional club appearance?
4. Heavy-Density Merrow Finish
A heavy-density merrow finish uses a fuller concentration of stitches around the perimeter to create a substantial raised edge. The result has a pronounced embroidered profile that works especially well with bold motorcycle insignia.
It is a strong option for custom biker patches featuring:
Large block lettering
Bold symbols
Traditional motorcycle imagery
Strong geometric shapes
High-contrast embroidery
The increased stitch density can make the edge feel more substantial, but more stitching is not automatically better. Excessively high density may result in puckering, stiffness, or heaviness, especially when it comes to small patches.
The successful production of embroidery requires balance. The number of stitches, material used, tension, underlay, and patch size need to interact properly rather than considering density as a separate criterion.
How can a layered merrow border make a complex emblem easier to read?
5. Layered Merrow Border With an Inner Embroidery Line
A layered border is a design feature that involves the use of a defined merrow border combined with a separate inner embroidered line within the border area. It provides a frame effect and allows for another separation method between the center artwork and the rocker lettering.
It could be very helpful in designs that include:
Dense center emblem
Top and bottom rocker lettering
Chapter or location details
Several colors of thread used
Distinct background and foreground areas
The inner embroidered line is used as an additional transition area between the center artwork and the border. It helps to organize a complicated design without overcrowding the patch with too much decoration.
In case of complex center artwork, a design must be digitized according to its physical size. Even small gaps and fine lines visible in the digital version of the proof will become merged in the embroidery.
Why are merrowed border patches a practical choice for motorcycle apparel?
Merrowed border patches offer a combination of visual definition and reinforced edge construction that suits many motorcycle garments. Riders commonly wear patches on leather, denim, canvas, and other durable materials, and these garments can expose patches to friction, movement, moisture, and repeated cleaning.
A properly constructed perimeter helps the patch maintain a clean silhouette. It also separates the embroidered design from the garment, which is especially useful when the vest or jacket is dark.
The border is only one part of patch durability, however. Backing type, thread quality, stitch density, attachment method, and garment compatibility all matter. A strong edge cannot compensate for poor digitization or an unsuitable backing.
What should you consider when comparing the five merrowed border techniques?
This comparison highlights an important point: there is no single border technique that is automatically best for every motorcycle patch. The correct choice depends on the artwork, physical dimensions, garment, and desired appearance.
Should every motorcycle rocker patch use the same border width?
Number. The size of the border needs to match the size of the patch and the amount of information presented within it.
A wide rocker with large letters is likely to carry a thicker border. A thin rocker with small letters might require something less noticeable in order to keep the text readable.
It is necessary to check the patch for its actual size and not just in an enlarged view. It is one of the easiest ways to detect any issues prior to embroidering.
Stitch density works in the same manner. A thick border will look good on a large patch but not necessarily on a small one.
How can you prevent small rocker lettering from getting lost inside a heavy border?
The first step is to establish the lettering hierarchy before selecting the border. Upper and lower rockers should remain readable from a reasonable viewing distance, while the central emblem should not compete with them unnecessarily.
Several design decisions can help:
Use sufficiently large lettering. Tiny text is difficult to reproduce cleanly through embroidery.
Maintain adequate spacing. Crowded letters can merge after stitching.
Choose strong thread contrast. Lettering should separate clearly from its background.
Scale the border appropriately. A thick perimeter should not consume valuable space.
Simplify fine details. Small decorative elements may need to be removed or enlarged.
Review the digitized file. Stitch direction and density affect the final appearance.
These considerations are particularly important when a rocker contains a club name, chapter, location, or other identifying text.
What should you check before ordering a motorcycle rocker patch?
Before approving production, ensure that you evaluate the total design rather than evaluating the border design alone.
Measure the patch sizes, rocker design, lettering size, thread colors, stitching density, backing, border size, the method of attachment, and the garment material. A leather vest would need different requirements from a lighter textile jacket.
When possible, ask for a production-sized proof as this gives a better idea about whether the lettering, emblem, border, and spacing will stay balanced when turned into actual embroidery.
This preparation will help buyers who are doing their research on Canada custom patches order with better precision since the type of border design needed is already determined before production starts.
How do merrowed borders affect the overall identity of a motorcycle patch?
The border contributes to the visual language of the patch. A rounded raised edge can create a traditional appearance, while contrasting colors can make a modern design more prominent. A layered border can introduce additional structure without changing the central artwork.
This is why border selection should be considered part of the design identity rather than merely a finishing step.
A motorcycle patch may represent a club, riding group, event, personal identity, chapter, or collectible design. In each case, the border should reinforce the intended character while preserving readability and proportion.
Which merrowed border technique should you choose?
It depends on what the patch requires. For a classic design of a rocker patch, a conventional raised merrowed border will do the trick, but a double merrowed border can arrange multiple layers visually. A highly contrasting border will enhance contrast, a dense stitch structure will increase visibility of a traditional border, and a multi-layered merrowed border can help outline intricate designs.
The best merrowed border patches are not those with the maximum number of stitches. These are the patches where the border, letters, emblem, thread colors, density of stitches, and sizes of patches are all considered together.
Anyone interested in Canada custom patches can benefit greatly by taking this into consideration when comparing them – it will result in a high-quality motorcycle rocker patch.