The selection of the right patch size seems easy enough until the design needs to be put onto an actual piece of clothing, bag, hat, or uniform. A perfectly balanced patch design created on a computer can look hard-to-read when it's shrunk down, while the overly large one can overshadow the clothing item it's meant to adorn. It is helpful to know the sizes for custom patches come in advance to avoid such problems before even starting the manufacturing process.
Ordering custom patches in Canada thus should consider dimensions along with artwork, placement, type of the patch, and its application. There is no one-size-fits-all approach when it comes to patches because a small chest patch and a big patch for the back of a jacket, even when they include similar design components, have very different specifications.
This guide gives information about popular dimensions of patches, measurements, and determining factors for the size of the patch.
1. What Patch Sizes Work Best When You Are Unsure Where to Start?
Where there is no established size standard, then the target area will usually serve as the right place to start. The average patch sizes tend to fall within the range of 2 to 5 inches, but this depends on what the purpose is and how big the design will be.
Patch sizes between 2 and 2.5 inches are useful for compact logos, symbols, small areas, such as hats, etc. Patches of 3 to 4 inches give more freedom for incorporating names, logos, letters, etc. Patches that are bigger, at least 5 inches and above, are preferable for back patches, large statement patches, clubs, teams, etc.
What is essential to understand is that the common size does not equal the right one. Size must always complement and support the design.
2. How Do You Measure an Irregular Patch Without Choosing the Wrong Dimensions?
The patch measurement usually depends on the widest and tallest point in the design of the patch. It is easy to measure a 4 × 2 inches rectangular patch because both its width and height are very obvious. However, an irregular patch has a little bit different method of measurement.
For example, the whole patch should be placed within an imaginary rectangle. Then, the distance between the two outermost points on the horizontal axis will be considered the width and the distance between two outermost points on the vertical axis will be the height of the patch. This will help measure circles, shields, mascots, stars, crests, and other unique shapes consistently.
Circular patches usually come up with their diameters. For instance, a 3-inch circular patch is 3 inches across the outer edge to another through the center.
It is very essential to know this kind of measurement especially when comparing prices or artwork.
3. Which Sizes for Custom Patches Suit Different Placements?
Placement changes how large or small a patch appears. Three inches may look substantial on a cap but relatively modest on the back of an adult jacket. This is why dimensions should always be considered in relation to the surface where the finished patch will be displayed.
The following ranges provide a practical starting reference rather than fixed production rules.
Before settling on a measurement, it helps to mark the proposed dimensions directly on the garment using paper or removable tape. Seeing the actual footprint is far more reliable than judging size from artwork displayed on a monitor.
4. What Happens When a Detailed Design Is Made Too Small?
One of the most common sizing problems occurs when complex artwork is reduced beyond what the production method can reproduce clearly. Fine lettering may close up, narrow gaps can disappear, and small shapes may merge together.
This is particularly noticeable with embroidered patches because thread has physical thickness. An intricate illustration that looks sharp at 5 inches may lose definition when reduced to 2 inches.
Instead of simply shrinking detailed artwork, the design can often be simplified. Tiny text may be removed, narrow lines can be widened, and minor decorative details can be combined into larger shapes. Alternatively, increasing the patch dimensions may preserve the original artwork more effectively.
Readability should be checked at actual production size rather than by zooming into a digital file. A design that is legible at 300% magnification may not remain legible on the finished product.
5. Does Patch Material Change the Size You Should Choose?
Indeed. The type of patch construction determines to what degree detailing is possible in a certain space.
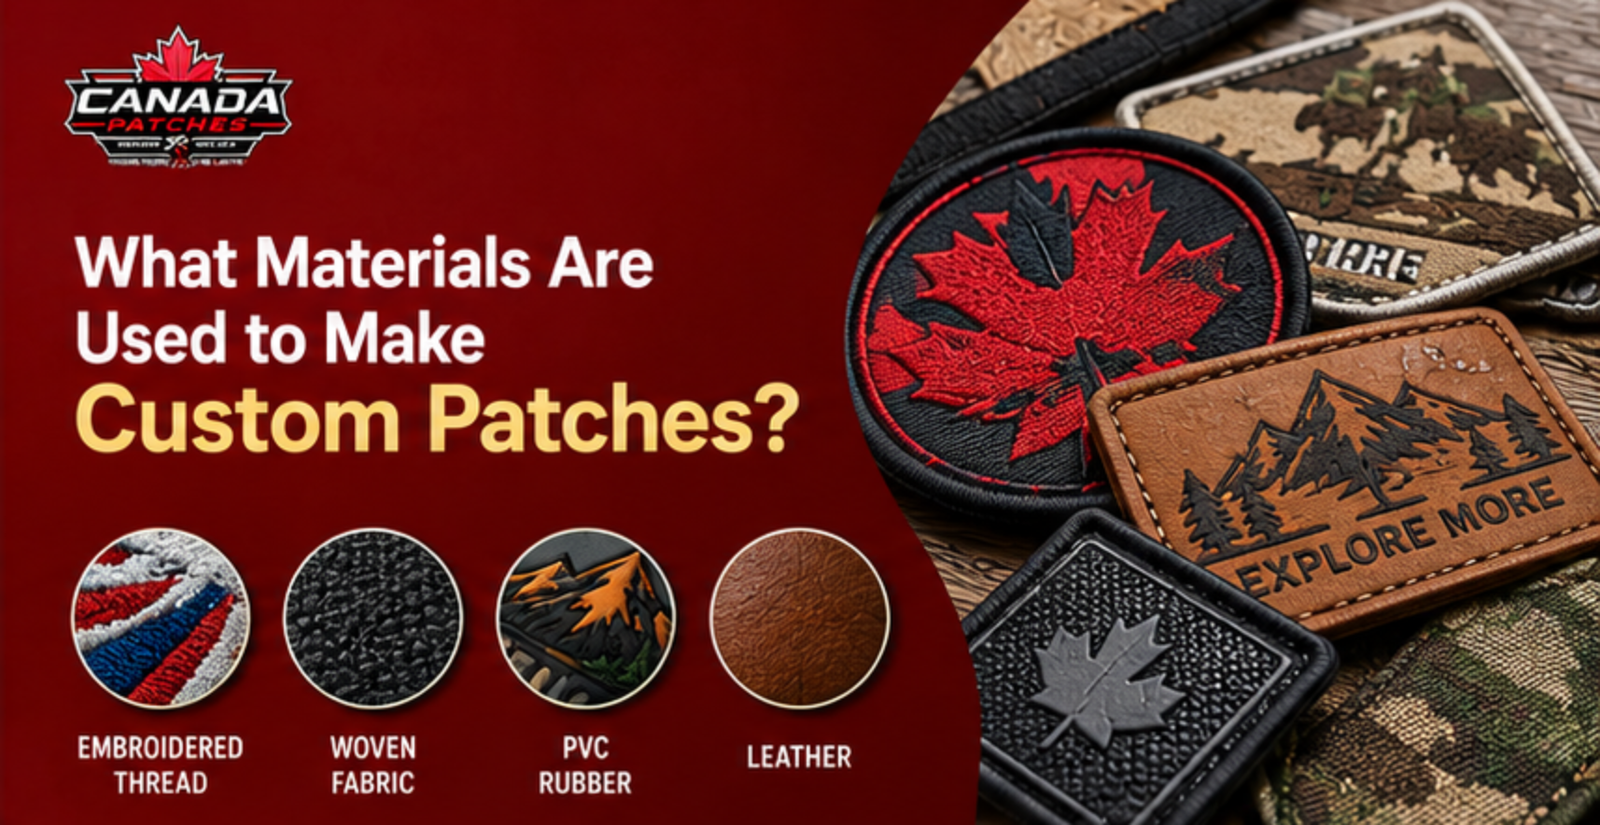
Raised embroidery is the best choice when it comes to large letters, emblems, or logos, while woven patches, being sewn from thin thread, allow for more detailed patterns in smaller sizes. Printed patches should be chosen for gradient images or photographs.
PVC introduces another set of considerations. Buyers researching custom PVC patches Canada may be working with designs containing raised and recessed areas rather than thread. Small lettering, narrow channels, borders, and tiny shapes must have sufficient physical space to remain distinguishable in the moulded design.
Material selection and dimensions should therefore be decided together. Choosing a patch type first and forcing complex artwork into an unsuitable size can result in unnecessary compromises later.
6. How Large Should a Patch Be When It Contains Names or Small Text?
The inclusion of text becomes one of the main reasons why the dimensions of the patch have to be reconsidered. First of all, it cannot be only about fitting the wording within the borders. It should still be readable upon production.
A short phrase in bold type is much shorter than a business name, department name, slogan, and extra information contained on the same patch. Adding more text, but keeping the dimensions the same means that each element becomes smaller.
Typeface becomes important here too. Bold letters with simple shapes tend to reproduce better than condensed, decorated, script-like or very thin ones when small.
If it comes to text, dimension selection has to be based on readability. Sometimes, just adding half an inch to the total dimension of the patch will give more space for the improvement.
7. Why Can the Same 3-Inch Patch Look Right on One Garment but Wrong on Another?
Patch dimensions do not exist in isolation. Garment proportions, wearer size, seam placement, pockets, zippers, and surrounding design elements all affect visual balance.
For example, a 3-inch circular emblem may fit comfortably on the sleeve of a large jacket but dominate the sleeve of a child's garment. Similarly, a rectangular name patch may need to fit directly above a pocket, which creates a natural maximum width.
This is also why universal sizing charts should be treated as references rather than strict standards. The most suitable sizes for custom patches depend partly on the physical item receiving them.
If patches will be used across several garment sizes, testing the proposed dimensions against the smallest garment is useful. Doing so helps ensure that the design does not interfere with seams, pockets, fasteners, or movement.
8. Should a Patch Be Made Larger Just to Make the Design More Visible?
Not necessarily. Visibility involves more than just size.
Good contrast, simple design, legible typography, well-defined edges, and proper placement can make even a medium-sized patch very visible. Making a patch larger without paying attention to these principles may create a large patch, which will also be visually busy.
Viewing distance is another factor that needs to be taken into account. The design of a patch meant for close viewing is different from the design of a large emblem meant for display on the back of a jacket. If the message is supposed to be viewed from a distance, it usually needs to be larger and simpler.
What is needed is proportion, not necessarily large size.
9. How Can You Confirm the Patch Size Before Approving Production?
The most reliable way to check the dimensions is to examine the design at its full intended physical size.
Measure the real width and height and don't rely solely on the digital representation of the design. Making a quick paper template of that size will help you see whether your design looks too small, too wide, too tall or simply unbalanced.
The artwork must be checked also at 100% scale. You need to make sure that all the text is readable, that all the lines are distinguishable and there is sufficient space between the design and its border.
It's especially important to pay attention to both maximum width and maximum height for unusual shapes. If the patch is labeled as 4 inches it might not be appropriate if its other dimension causes some issues with the intended use.
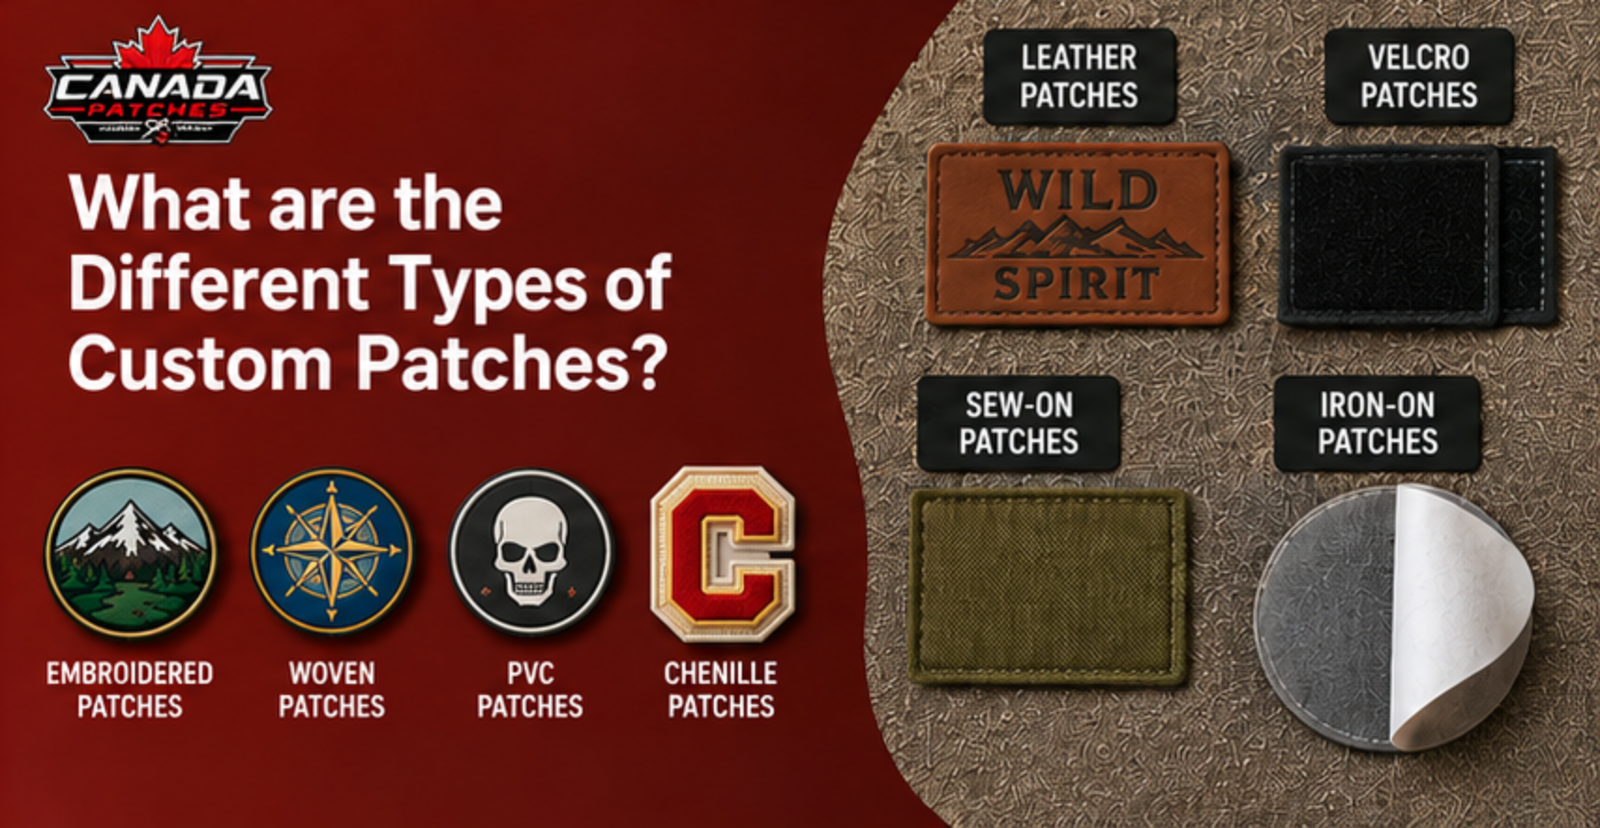
The way your design is going to be produced is worth considering at this final stage as well. The tiny details won't always be reproduced the same way when you use embroidery, weaving, printing, chenille and PVC.
A Practical Rule for Choosing Patch Dimensions
It is not about the right size but about the correct process of choosing one. Begin with the location of your patch, calculate how much physical room you have, take into account how complex your artwork is, and finally think about the ability of the manufacturing method to convey that complexity.
Smaller sizes may work well for artwork that is less complex. If you have artwork with more than one word, a complex illustration, various borders, or many other small components, you will need more room. A large statement patch also requires an analysis of practical aspects besides its appearance.
Ultimately, the best sizes for custom patches are the ones that keep the design readable, visually balanced, practical, and suitable for its intended application.
Need Help Choosing the Right Custom Patch Size?
If you are still unsure What are the Common Sizes for Custom Patches?, review the artwork together with its intended placement before sending it for production. A professional patch supplier can assess the dimensions, smallest design elements, border, lettering, and manufacturing method to determine whether adjustments are needed. Confirming these details before production can prevent unreadable text, lost details, awkward proportions, and unnecessary redesigns.
Conclusion
It's not really about settling on a specific size but rather ensuring that the measurements are appropriate for the use. Small patches can serve extremely well for basic logos and tight fitting, while medium and large patches give even more space for text and complex designs meant to be seen from afar.
The best solution is to consider all the above factors – placement, complexity of the artwork, text size, clothing ratios and production technique – in combination. It's very convenient to test out the design at its natural size in advance of the manufacturing process, and it helps to easily find the appropriate dimensions.