Custom police patches aid in identifying the department, signifying official positions, and giving consistency to the uniform and jacket look and other approved clothing. Should you be seeking information on how to make police patches, then it entails deciding on the purpose of the patch, designing the same officially, selecting the proper materials, picking the backer, and quality control of the final product.
It all depends on the intended application, uniform needs, complexity of the design, and quantity required. Whichever the case may be, whether you want the patches for a legitimate police department, a security group, a training exercise, or a lawful commemorative event, proper planning will go a long way in avoiding design mistakes and unnecessary wear and tear.
What Should You Consider Before Making Police Patches?
It is important that the users be known and what they have to say be found out before proceeding with production. Policies by department, laws about trademarks or any other law may govern the use of official badges, crests, names or insignias. Request authorization to reproduce the badges and insignias of the official department.
First, consider the following:
Purpose: Are they to indicate an official unit, distinguish between positions or indicate an official occasion?
Placement: On which place will the patches be placed? On sleeves, chest pieces, tactical gear or jackets?
Environment: Will the patches have to survive in the rain, snow, sunshine, repeated washing or rough environments outside?
Design requirements: What are the approved colors, size, fonts, insignia requirements?
Number: Do you need approved small numbers, replacements or large numbers of uniforms?
The above is important for production briefing purposes and to avoid expensive changes.
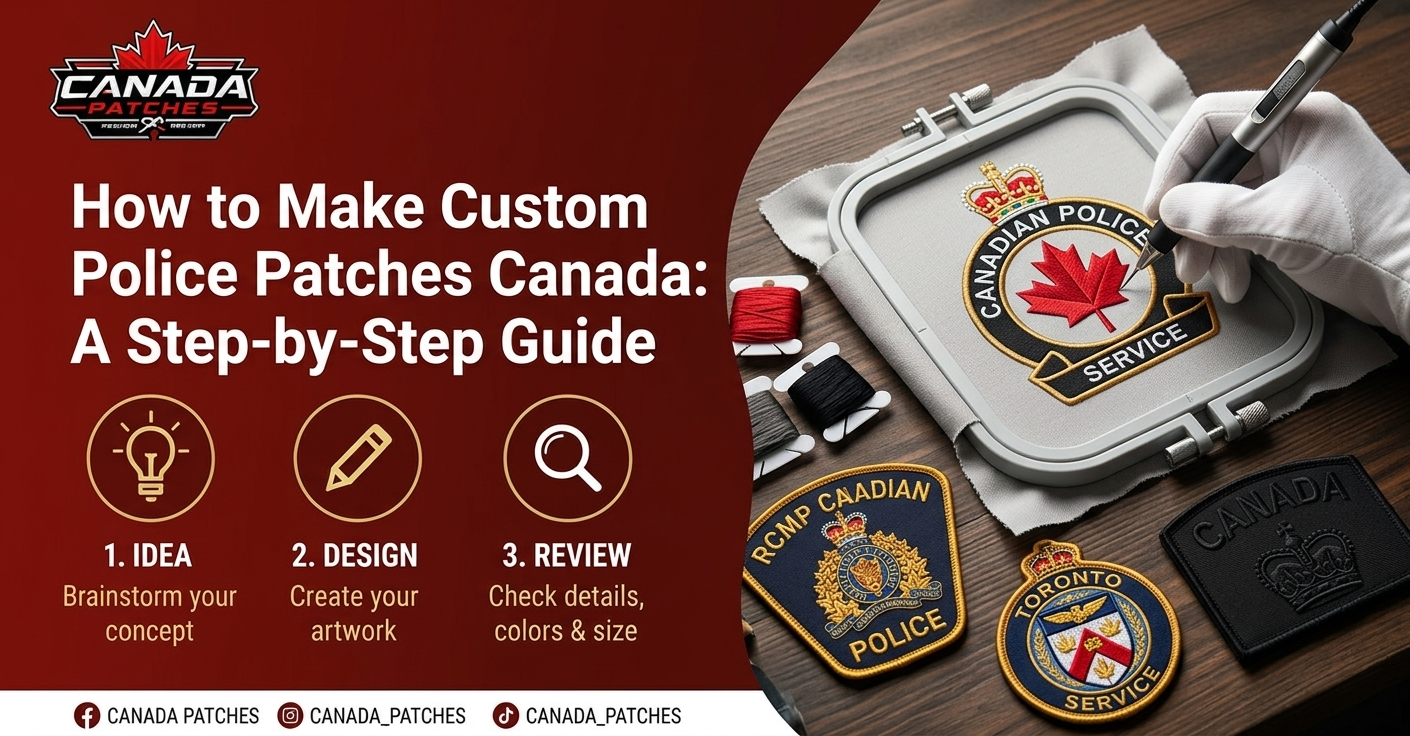
How to Make Police Patches: A Step-by-Step Process
Understanding how to make custom police patches begins with planning rather than stitching or printing. Following a structured process helps ensure that the finished product meets the intended visual, functional, and quality requirements.
Step 1: Define the Patch's Purpose and Requirements
Develop a brief specification to describe the function of the patch, the individual who is supposed to wear it, where the patch will be attached, and its lifespan. There could be stringent guidelines regarding uniforms by an authorized police department, whereas designing something for a costume or a non-police commemorative badge would offer more flexibility.
Make a note of all the necessary specifications such as the dimensions, shape, colors, text that needs to be written on it, and the mode of fixing it. For instance, if a patch is meant for a sleeve that is used outdoors regularly, it may require certain qualities like durability, colorfastness, and backing material.
A written brief helps everyone involved understand what the finished patch must achieve.
Step 2: Create an Approved Design Concept
It should be readable in its true production size. Complex drawings, small lettering, and elaborate color combinations may become hard to reproduce in such a small patch.
Start with a simple composition of your patch, which should consist of the approved text, graphic, border, and background. Arrange your images in such a way that a visual hierarchy is created.
When creating police patches artwork designs, consider the following elements:
Shape: Decide on a shape such as a shield, circle, rectangle, or other approved shapes.
Typography: Make sure the lettering is readable, with appropriate spacing.
Color Contrast: Make sure there is enough color contrast between text and symbol.
Border: Pick the appropriate border for your design.
Scale: Confirm that all symbols and lettering are legible at the required scale.
Seek the approval from the appropriate organization before production begins. Do not think that just by altering a color or taking away a few elements, you can use another department's symbol freely.
Step 3: Choose the Right Patch Material
Material selection affects the strength, feel, flexibility, and appearance. A good material will depend on the purpose of its use and on the level of detail in the art design.
The embroidered patch involves the use of stitches and therefore creates a textured surface. These patches can be used for many conventional uniforms especially when bold lettering and clear outlines are needed.
The woven patch involves very fine threads and therefore can accommodate small lettering and detail. The printed patch can create illustrations that involve color transitions without having to use stitching for each piece of the illustration.
For special purposes, another material might work depending on what the organization requires.
When considering how to design police patches, match the artwork to the capabilities of the selected material. Fine lines that look excellent on a computer screen may not remain clear when translated into embroidery.
Step 4: Select an Appropriate Backing
It decides how the patch will stick on the cloth or equipment. Choosing the wrong one will make the edge loose and may even damage the cloth or make the patch hard to remove.
Some choices are:
Sew-on backing: Best when you want it permanently stuck on and are using a uniform regularly.
Hook-and-loop backing: Helps in taking out the patch and putting it back on the same kind of clothing.
Heat-activated backing: Sticks the patch to the compatible cloth with the help of heat, as directed by the manufacturer.
Adhesive backing: Usually used only when you need it for a short time only.
When you have to keep on washing your garment, sew-on is a good choice. But if you have to change approved insignia between tasks, hook-and-loop backing helps.
Compatibility must be ensured with regard to the garment material. It is not advisable to use either of these methods for attaching patches to the uniform, especially if it is incompatible with these techniques.
Step 5: Prepare the Digital Artwork
Upon approval of the design and materials, you should produce a ready-to-provide file. The vector file is a good thing in that it can be scaled up, but in the end it is all about the kind of file the manufacturer needs.
Prior to submitting your artwork, make sure that:
Spelling and approved language are correct.
Width and height are final.
Colors and threads are accurate.
Border thickness and edge style are correct.
Minimum legible font size.
Alignment and direction of all elements.
Ask the manufacturer if it needs a vector file, high resolution image or a certain template. Digitalisation of some artwork may also be required, where artwork is converted into instructions used on embroidery machines.
Review the digitised proof carefully. A screen preview may not fully represent thread texture, stitching density, or the final appearance of small details.
Step 6: Choose a Reliable Manufacturer
An efficient manufacturer must be able to justify the materials used, constraints in manufacturing, support services, expected time for delivery, and quality control process. Ask for samples or photos of similar projects whenever possible.
Evaluate vendors by:
Past experience with manufacturing the required patch type.
Capacity for duplication of the desired design.
Materials and attaching options.
Quantity limits and pricing per piece.
Proofing, changes, and replacement for defects policy.
Canada Patches can be considered as one potential source when researching custom patch production in Canada. Before placing an order, confirm the supplier's current capabilities, available materials, delivery terms, and suitability for your specific requirements.
For official insignia, verify the manufacturer's process for handling approved artwork and ensure that the order is authorised by the relevant organisation.
Step 7: Review a Sample or Production Proof
The digital art may look right, but do not approve a batch based only on that. The actual sample will help in assessing the texture, stitching, colors, attachments, and edge finishing.
The physical sample should be compared with the approved original specification. There may be issues like uneven edges, dangling threads, missed elements, wrong wording, wrong attachments, and incorrect colors.
In case you wish to use it for your uniform, then check it together with the design of the uniform. Even if the patch is appealing in itself, it may be too big or even hard to fix on the uniform.
Make sure to solve all issues before placing the order. Recording all amendments made will also prevent any confusion while making the patch again.
Step 8: Inspect the Finished Patches
Quality control should cover both appearance and practical performance. Inspect a representative sample of the completed batch and follow any additional inspection requirements established by the purchasing organisation.
The following checklist is recommended:
Proper sizing, shape, and wording.
Proper colors and placement of artwork.
Proper stitching and neatness of edges.
Proper backing and proper adhesion.
Absence of any stains, flaws, or damage.
Proper packaging and proper quantities as per the order.
In case of uniforms that will be used in extreme weather conditions and/or require frequent washing, durability tests are suggested to be performed as per the manufacturer’s instructions.
Keep records of the approved artwork, material specifications, supplier details, and inspection results. These records can make future replacement orders more consistent.
Which Patch Type Is Best for Police Uniforms?
There are certain benefits that vary with each patch-making technique. The below table provides a comparison between different techniques to enable you select the right format whether you need the patch for an official uniform or otherwise.
None of the above can be the most suitable in all applications. It might be suitable to use embroidery where a traditional look is desired. Weaving or printing can be preferred if fine detail is required.
How Can You Keep Police Patches Durable?
Even well-made patches can deteriorate when exposed to unsuitable washing, friction, moisture, or prolonged sunlight. Appropriate care helps preserve the design and attachment.
Follow the care instructions supplied by the patch and garment manufacturers. If machine washing is permitted, use the recommended settings and avoid harsh treatments that may damage thread, backing, or printed surfaces.
Inspect attached patches periodically for loose stitching, lifting edges, fading, and damaged attachment panels. Repair or replace defective patches according to the organisation's uniform policy.
In case of hook-and-loop products, ensure that the fastening sides are kept clean and without any lint accumulation. In the case of patches with stitches, loose threads should be dealt with immediately before the edges start peeling off.
The remaining patches should be stored in a clean and dry environment, and should be kept away from too much heat and sunlight exposure.
What Common Mistakes Should You Avoid?
A number of issues that can be prevented may influence the quality, cost, and practicality of the ordered patches.
Copying artwork without permission: Unauthorised use of copyrighted insignia may lead to serious legal and organisational issues. Make sure you have permission before manufacturing.
Selecting the wrong design due to excessive detailing: Text too small and lines too thin may not be reproduced successfully. Simplify the design or choose another way of manufacturing.
Neglecting the attachment needs: Backing good for casual wear may be not suitable for frequent washing and harsh conditions of uniforms.
Not consulting the proof before ordering: Typos, wrong colours, and sizes get increasingly costly to fix once the whole batch is already manufactured.
Comparing only costs while neglecting specifications: The lower price may be due to different materials used, different finishing, backing, and other aspects. Compare equivalents first.
Not specifying requirements for inspection: Determine the requirements for dimensions, finish, artwork, and how to deal with defects.
Frequently Asked Questions
1. How long does it take to make custom police patches?
Factors influencing production time include the approval of the artwork, digitizing process, availability of materials, number of items to be printed and scheduled by the manufacturer. The printing of a new design will involve many changes than printing an already approved design. Obtain a production quotation in writing.
2. Which material is best for police patches?
Embroidery is a common choice for traditional, textured designs. Woven construction is useful for fine lettering, while printing can reproduce complex illustrations and colour gradients. The best material depends on the approved design, expected wear, and garment requirements.
3. Can police patches be made in small quantities?
Some manufacturers accept small orders, while others require minimum quantities. Ask about minimum order requirements, sample availability, setup charges, and pricing at different quantities before selecting a supplier.
4. Are custom police patches waterproof?
Water resistance depends on the materials, thread, backing, construction, and finishing process. An embroidered patch should not automatically be considered waterproof. If exposure to rain or moisture is expected, ask the manufacturer about appropriate materials and any available testing information.
5. Can I create a police patch for a costume or fictional organisation?
You can explore original designs for costumes, theatrical productions, and fictional organisations, subject to applicable laws and event rules. Use distinctive names and graphics that do not falsely suggest real police authority or impersonate an actual department.
6. What information should I provide when requesting a quote?
Provide the intended use, approved artwork, dimensions, quantity, preferred construction method, backing, colour requirements, delivery location, and required delivery date. Mention any uniform specifications or authorisation requirements that affect production.
7. How do I ensure the finished patch matches my design?
Send artwork that is clear, approve a production proof, and ask for a sample if possible. Look at the sample for spelling, color, size, stitching, and backing before approving the order.
Final Thoughts
Learning how to make police patches is more than just deciding what shape it will be and what logo it will carry. An effective police patch design will need to have approval, correct material, backing, proofing, and quality control.
To avoid making mistakes in production and choose the right patches, one should define requirements at an early stage and compare manufacturers based on equivalent specifications. When dealing with police insignia, one should always have authorization and relevant regulations in mind.